עגורן צעצוע ענק (חלק 2 אלקטרוניקה ובדיקות) עם מנוע + שלט רחוק | XDIY

דרג סרטון זה
התחבר כדי לדרג
תיאור
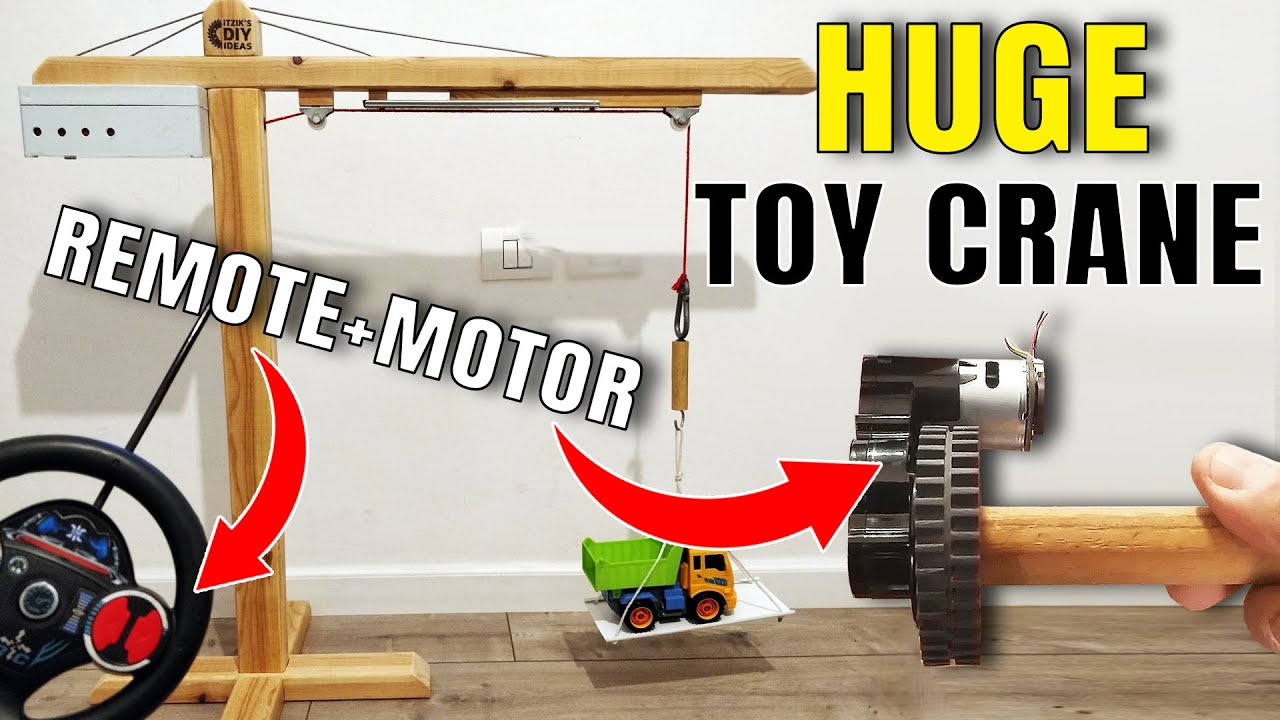
Huge Wooden Toy Crane DIY (Part #2 - Electronics & Tests) Motor + Remote Control + Magnet | XDIY
Full description including the electronic scheme (important to read), here - https://www.instructables.com/id/Powerful-Huge-Woode...
If you missed part 1 of the crane project (Woodworking), you can watch it here - https://youtu.be/YpdKTA-FbfA
Electronics Mechanism - Full Scheme & Description:
########################################################
* Please read the full explanation to avoid risk!
* The reason for the complexity, was due to the different voltage inputs that each part I had:
** Power adapter: 12v
** Led Strip: 12v
** Motor: 15v
** Remote car receiver board: 4.5v
* There was no issue with the providing 12v for the 12v led strip and the 15v motor.
* The problem started with the remote car receiver board. The receiver PCB was on the remote car, it was operated by 4.5v batteries.
* I'm not a electronics pro, but I assumed that connecting this board to the 12v adapter, would burn it.
* I thought of a way to operate the board with another smaller voltage adapter and only the motor with the 12v, but I needed additional parts for this connection, maybe a relay, or other options which I couldn't reach during the lock down. I guess, you can also find receivers with different voltage input.
* I decided to take the risk.
I put my safety glasses, and connected the 12v power adapter directly to the receiver input.
After about 5 seconds, the capacitor that was connected on the board, was blown and flew like a rocket...
I thought that this is the end of this board...
* Anyway, I connected one of its outputs, to my DC motor and tried to operate it. Guess what? It worked.
* And it's still working after 2 months, without getting hot.
* So, what was this capacitor for? If you can share your knowledge on the comments, I would love to learn.
* Anyway, I don't recommend to make what I did. Find the correct components and use them.
* Now, you can look at the scheme picture and understand the connections I made:
* https://content.instructables.com/F1A/0T7C/KBHXVFPR/...
########################################################
This project started about two months ago, during the Corona virus lockdown.
We were about one month in lockdown already, and we knew it's the best time to create something (like many others did during this period)
I asked my kids what would they like to build together. They said that I promised to make a crane long time ago...
So - we decided to try to build a crane, from the limited materials that we had at home. I have some boxes with many parts which I saved for years, and it helped in this case. It took about 5 days to make it.
I named this project - "Corona Crane".
Is there anything better than "leveraging" your morale by building a crane, during the lockdown? :)
Note: Since this project was pretty long and contained many steps and some domains, I decided to divide its video into 2 parts:
Part 1 - Crane's woodworking + mechanism + accessories.
Part 2 - Crane's electronics + mechanism (motor + remote control) + test results - leverage of different items and weights.
The tools & accessories that I'm using - https://www.itzikdiy.com/tools-list?m=1
0:00 Intro
0:33 Electronics & Mechanism
5:23 Test Results
#xdiy
#xdiy_with_itzik
#itzikdiy
🔔 Make sure to subscribe and click the bell, so you won't miss any new released video! 🔔
https://www.youtube.com/channel/UCqBRZfuCJIzWes2MhI9...
Thanks!
Credits:
* Construction Tools Image Designed by macrovector / Freepik - http://www.freepik.com
- - - - - - - - - - - - - - - - - - - - - - - - - - - - - -
Music Provided by MU : https://goo.gl/jj2d3u
Track: Beyond - [MU release]
Track link: https://youtu.be/NNa0_3cqzpo
- - - - - - - - - - - - - - - - - - - - - - - - - - - - - -